
使用matplotlib时发现可以读图片,捣鼓了下觉得挺好玩的,可以作为图书馆的omake,于是记录.
读取图片到numpy array,再转成2D array,output txt file的测试.
注意png文件读出来是4D的array,但jpg只有3D.
3D里面有颜色的数据,将其转成grey(skimage.color.rgb2gray)就只有2D了.
txt文件只能存2D,3D及以上只能存在npy文件里.
导入.
1 | import numpy as np |
读入图片.
1 | img_array = plt.imread('cover_3.png') |

想要类似的2D array文件(不容易猜一点…).
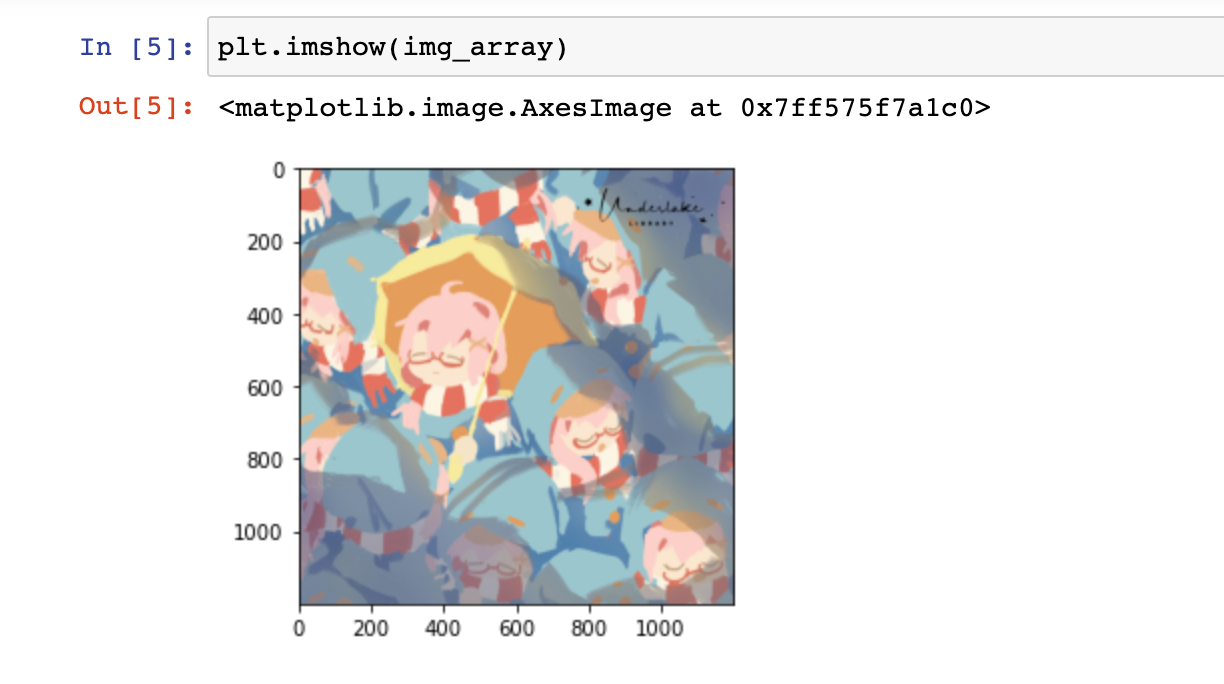
图片这时候普通的就可以再次plot出来了.
但是这个array因为dimension太多,所以我们得找黑白jpg格式.
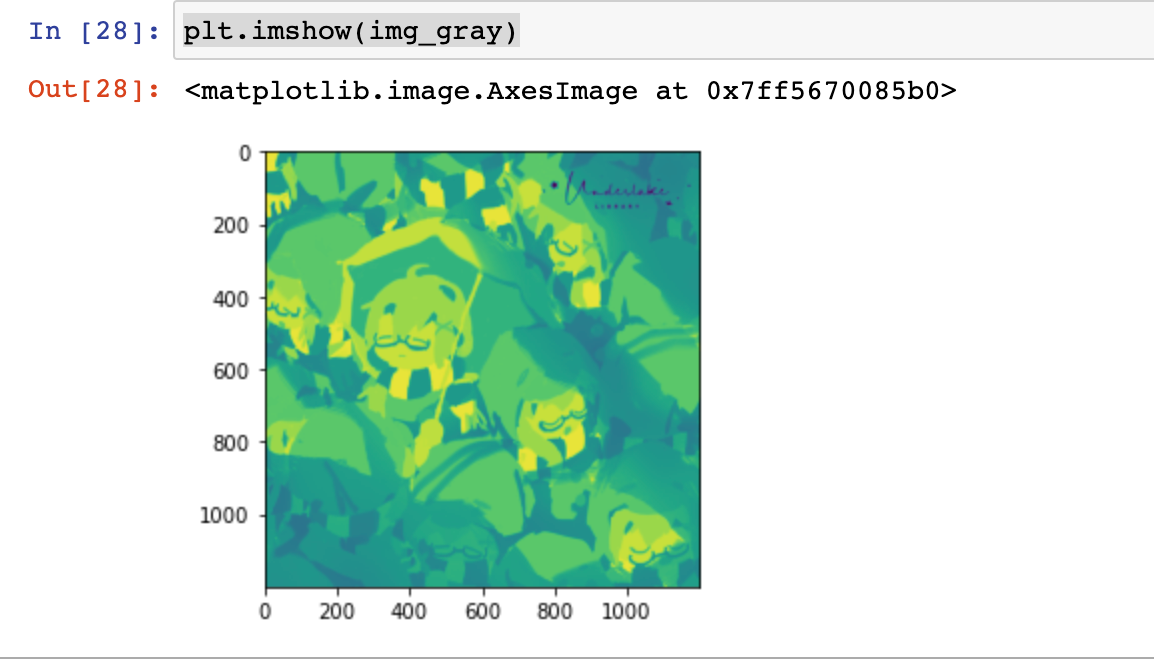
改成灰色.
1 | img_jpg = plt.imread('cover_3.jpg') |
默认的颜色不是黑白.
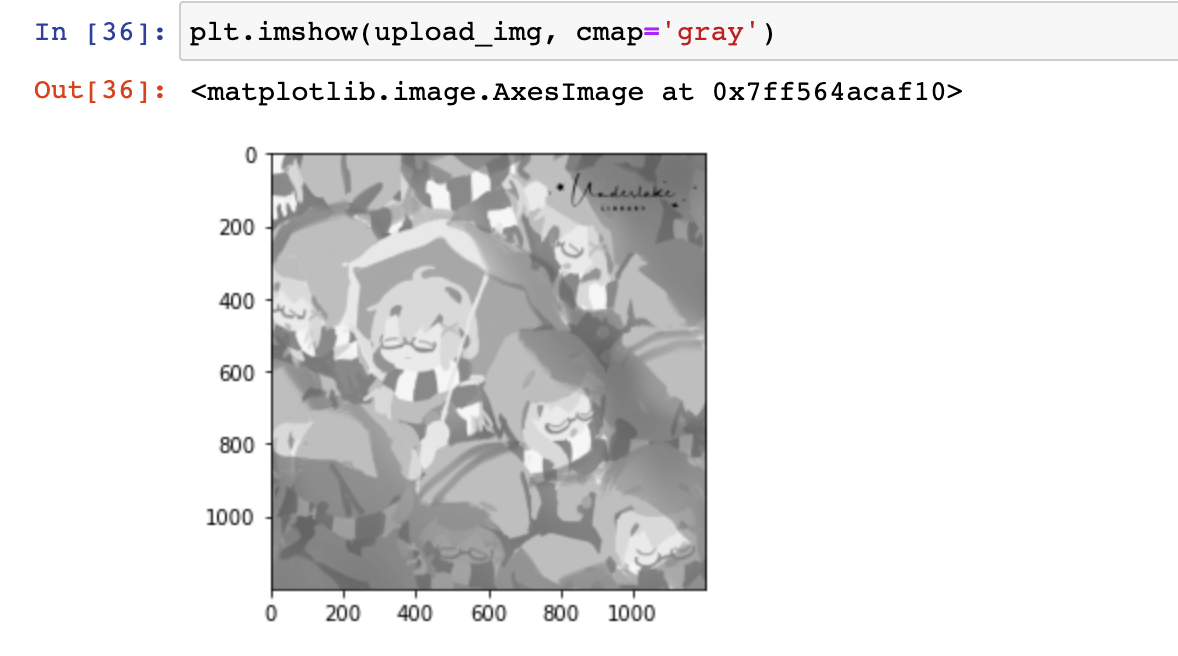
这样会好看一点.
1 | plt.imshow(upload_img, cmap='gray') |
导出和重新导入.
1 | np.savetxt('cover.txt',img_gray) |
不过说起来,用matplotlab读,数字会很难看.
所以测试的时候手动把数字变大(减少误差),然后round一下.
1 | img_mona_scaleUp = img_mona_gray*235 |
235是自己输入的,够用(……).
不过因为array的格式破坏了,保存的时候又多了点问题.
1 | np.savetxt('monalisaRound.txt',img_mona_int) # this result a lot of zeros |
于是手动了一下.
1 | def savetxt_compact(fname, x, fmt="%.6g", delimiter=' '): |